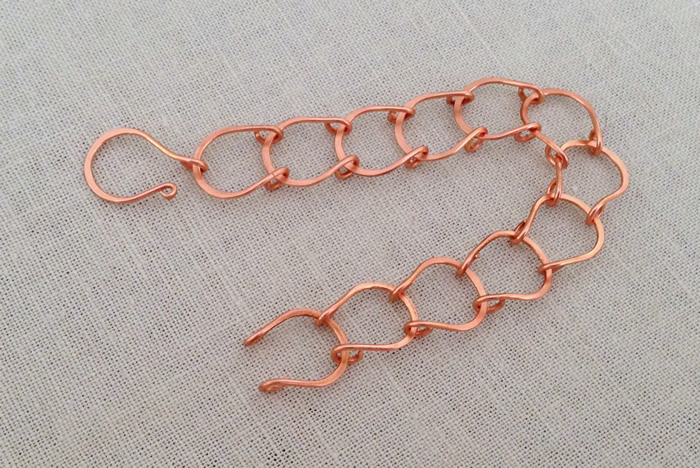
The horseshoe link bracelet has quickly become one of my favorites because it is pretty, comfortable and feels slinky when I wear it.
 Once it was complete, I immediately starting thinking of new variations, including adding beads, using different size wire, and closing the links more.
Not long after I published my bracelet project, I saw this free handmade chain tutorial from Kia Dallons Studio on Pinterest.
I really like her design, and her method of construction is slightly different from the horseshoe link bracelet. Because I am using thinner wire, I thought it made sense to adopt some of her techniques.
The shape of the links reminds me of a teardrop, so that's the name I'm using for this chain.
Teardrop Chain Materials
20g wire cut into 1.5 inch pieces
3 step pliers
or Bail Making Pliers to make the curve
Round Nose Pliers
Jewelry Hammer (optional)
Steel Bench Block (optional)
Instructions
Cut enough 1.5 inch pieces of wire for your bracelet. Each 1.5 inch piece of wire will make a bracelet link approximately 1/2 inch long.
Once my wire is cut, I line them up, find the center and make a mark with a Sharpie. This just helps me bend the links evenly.
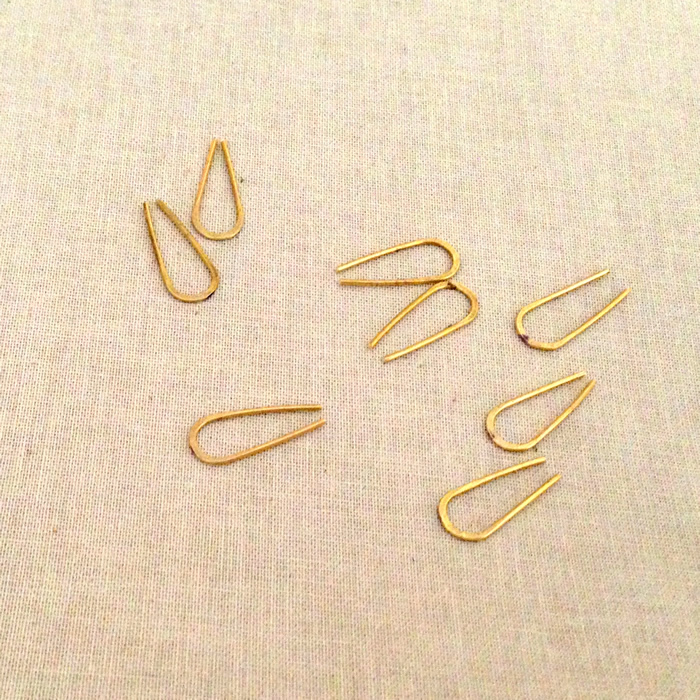
I use the 5mm barrel of the 3 step pliers to make the U shaped curve. I center the mark between the barrels of the pliers and gently curve both wires upward until they meet.
I use the 5mm barrel of the 3 step pliers to make the U shaped curve. I center the mark between the barrels of the pliers and gently curve both wires upward until they meet.
After shaping the wire, I hammer the curve of the links to flatten and strengthen them.
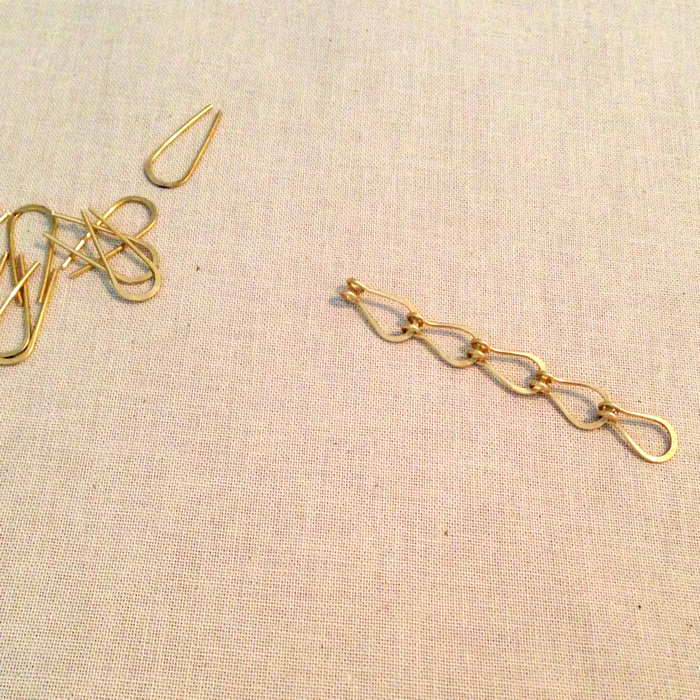
I curve and hammer all the wire for links at one time. It goes very quickly this way. After all the links are shaped, I will make the loops to connect the links.
This is different from the method that I used for the Horseshoe Link Chain and Kia Dallon also makes the loop connectors first. I just found it easier to hammer the curve of the links without the loops in the way.
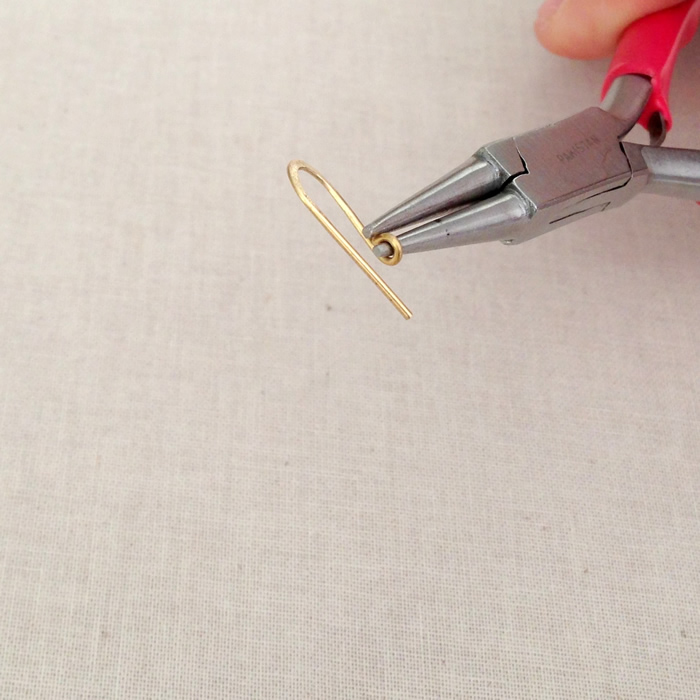
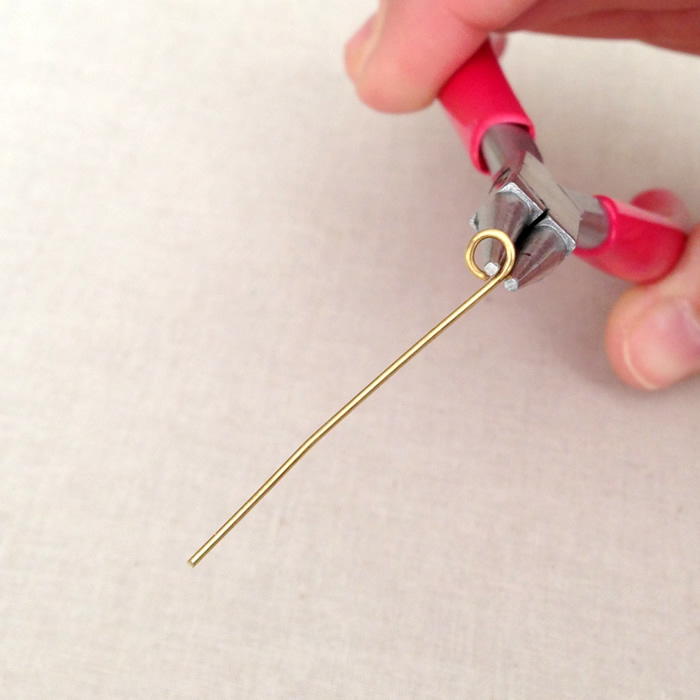
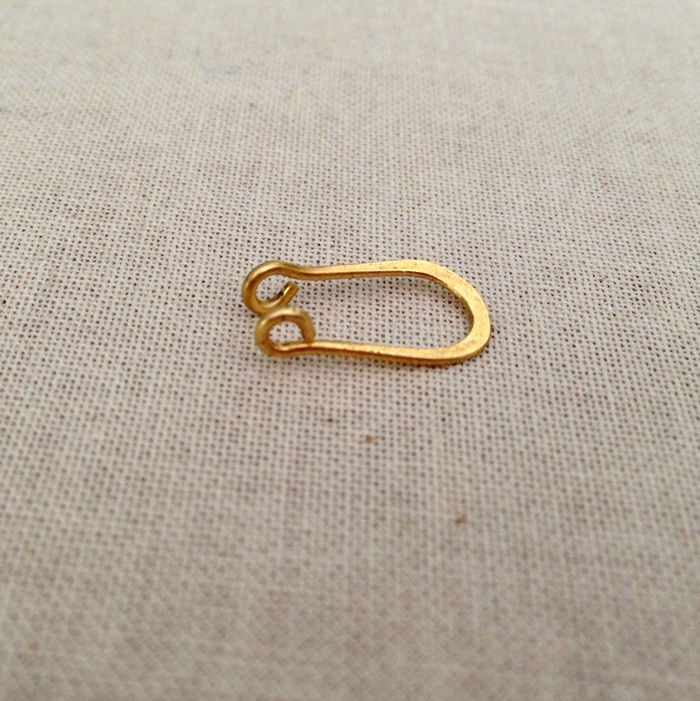
To make the loops, I use my round nose pliers and turn the loop away from me.
Then I flip the link around and repeat the process on the other wire. If this is not the first link of the chain - now is when you slip the link into the previous link to attach them.
Then you can proceed to make the next loop that will close the link.
Because the loop on each end of the wire link is turned the opposite way, I need to center the loops so they will meet in the middle of the link. I do this by inserting my pliers at the bottom of the loop and bending it slightly. This is commonly referred to as breaking the neck of the wire, probably because you are breaking the straight line into a curve.
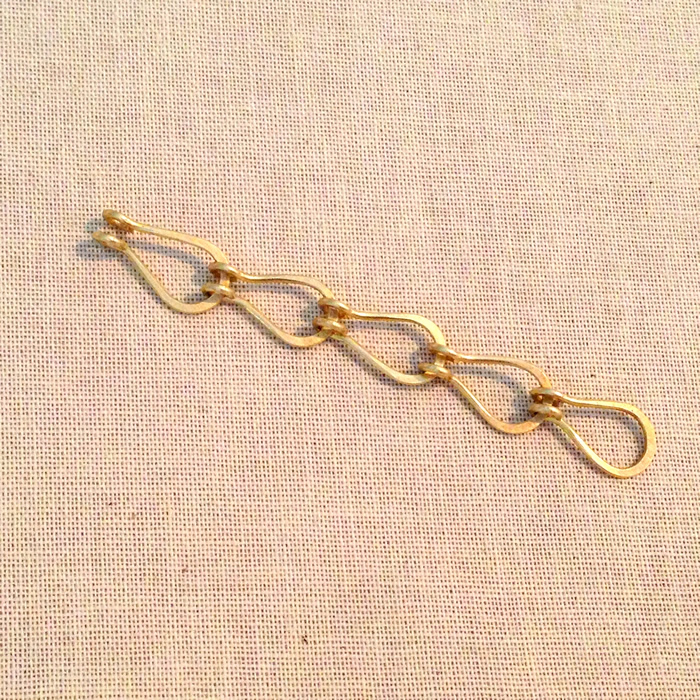
A close up view of the link shows the loop connectors going in opposite directions. I thought this was important because it makes the chain less likely to slip apart, especially since I am using thinner wire.
Keep adding links until your chain reaches the desired length.
As I add each link, I squeeze the two loops together to make the links teardrop shaped, instead of horseshoe shaped.
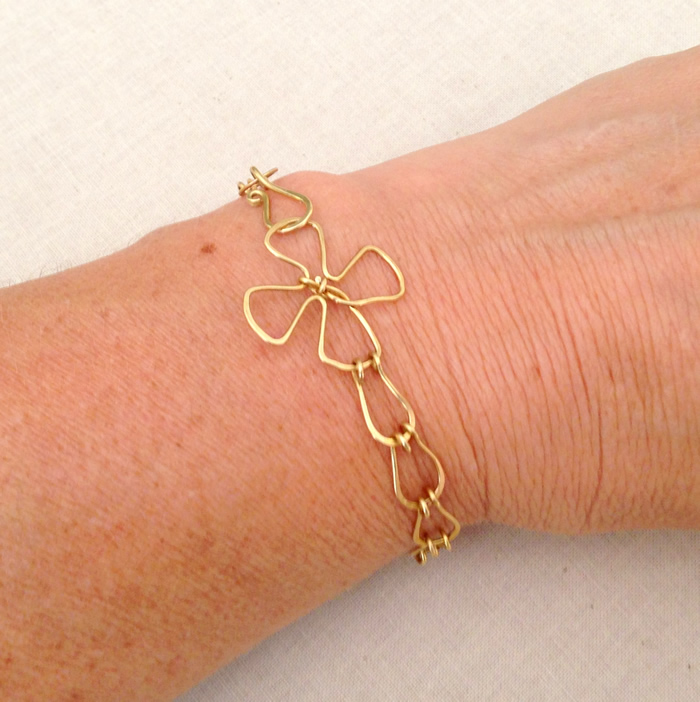
Keep adding links until your chain is the right size. I added a clasp that I made using the technique in the free 4 leaf clover tutorial.
I still have some other link variations in mind - but I'm happy this new bracelet is as comfortable and pretty as the original horseshoe link chain design. It may be even quicker to make too.






Great job, wonderful working with wire... I have to get back at it - been busy with renovations way to much work and not enough play time
ReplyDelete