Diamonds are a girl's best friend
If you've been following my blog, you know how much I like to use wire frames as a base for my beading creations. I find it supports a variety of beading techniques - using either thread or wire.
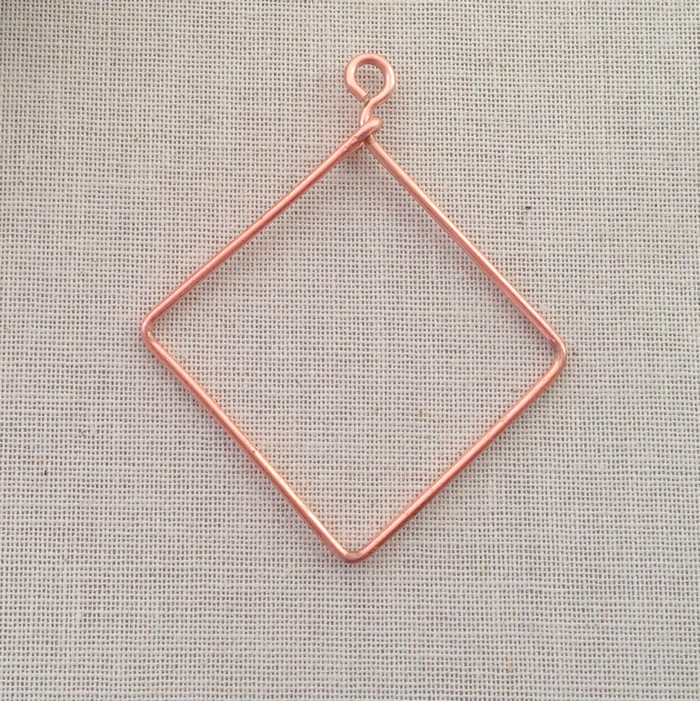
Today I've worked up a tutorial to show you how to make a diamond or square frame. In this case a diamond is a square turned to hang at the angle instead of a side.
Here is the finished harlequin beaded diamond pendant (and yes -there's a tutorial for for adding the beads to the frame too!)
Hip to be square
Making square shaped wire frames looks deceptively simple but, for me at least, they are considerably more difficult than rounded shapes. It probably has to do with the need for symmetry of angles and the lengths of the sides. If anything is off more than a little bit, I think it is noticeable.
My finished frame is approximately 1 inch square - with an additional 1/4 inch for the pendant bail. There are a couple of other options for ways to finish and hang the frames, but for today, I will show you how to make a simple loop like you see on this frame.
I use 18g round copper wire to make these frames.
To start, cut a piece of wire at least 5 inches long. I mark spots along the wire starting at 1/2 inch from the end and then every 1 inch after that using a fine point black sharpie. Since the location of the bend is pretty important, I encourage you use a fine point marker to make it a little easier to know where to place the jaws of your pliers.
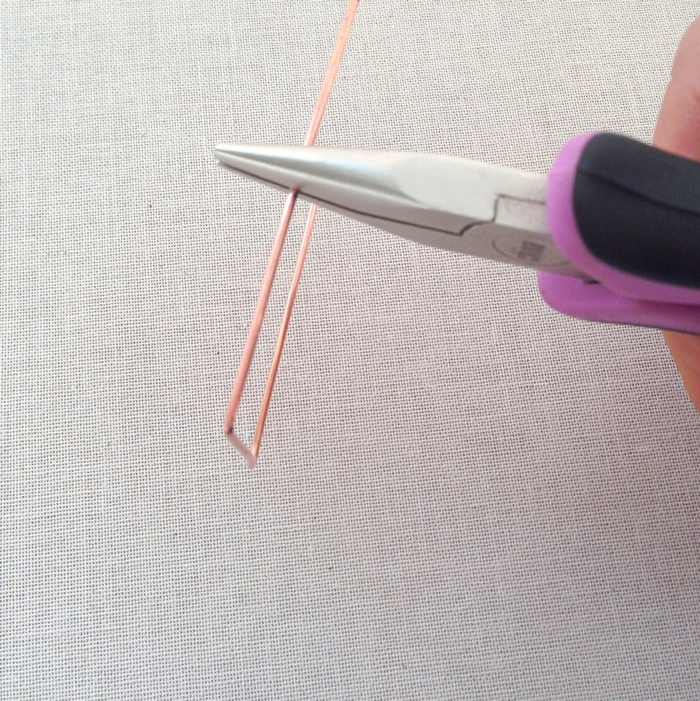
From a tool perspective, I find frames that need even square angles are easiest to make with flat nose pliers as opposed to my standard chain nose pliers. You can see why in the picture above. The chain nose pliers taper to a point on the end.
It doesn't mean you can't make a sharp even bend with them. I just think it's easier with consistent sized jaws like these square nose (also called flat nose) pliers by Beadalon .
I bend my wire in the middle first and then each of the sides until the two wires meet in the center at the marked spots. I measure the length after the first side is formed so I can make minor adjustments before making the second side. Yes - it's a little obsessive compulsive - but I imagine so is my need to play with beads.
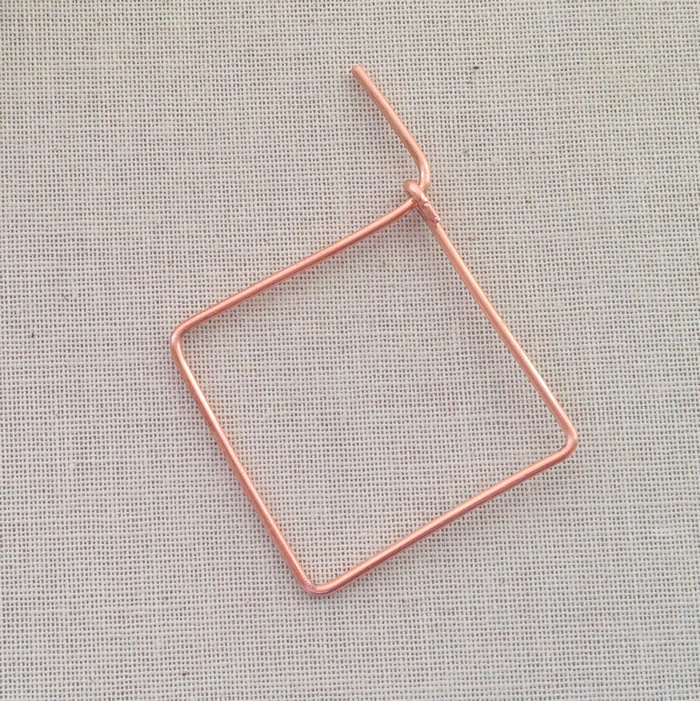
When everything is square and reasonably aligned, I bend over the top wire to complete the frame. This is when you are most likely to squeeze things out of alignment, so bend carefully (Ya - I wish I had better advice for you here - but that's all I've got.)
The good news is that as long as you didn't make the bend too tight, you've got some wiggle room to adjust the arm up or down a little to make things square before adding the loop for hanging.
I just made a simple loop, but when I make more square frames, I will probably wait to add the loop until after I fill in the frame and decide what it's going to be first. I ended up having to twist the loop once I decided to make this a pendant and that marked it up a little.
Click here for the free tutorial for my Harlequin Beaded Diamond Pendant that will show you how to weave the beads to fill in the bead frame.
Framed
Curious what inspired this piece - well let me tell you about it: Inspiration for the Harlequin Diamond Beaded Pendant
New News!!
By email: You can sign up by providing your email and you will be notified of new blog posts plus special offers. Make sure you confirm your subscription request by clicking the link in the email.
By following me on Pinterest: Lisa Yang Jewelry on Pinterest
By subscribing on YouTube: Lisa Yang Jewelry on YouTube
And Instagram: @lisayangjewelry


No comments:
Post a Comment