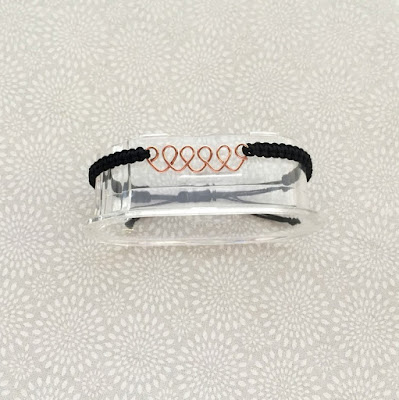
This isn't the first time I've made or published macrame bracelets. It's one of my first projects I learned in high school. But, the new part for me is the Chinese knotting cord. It is, for sure, a game changer! I also made the pretty heart centerpiece above as part of the heart wire jig tutorial I published last week.
I'll start with the fact that it took me a while to realize how great this cord is. It comes in a gazillion beautiful colors, which silly me only bought gold, silver and black because I couldn't choose colors from so many choices. It's synthetic and silky, but it also has tooth or grip. Not the waxy kind of grip that wears off, liked waxed linen cord, but a kind that is natural to the weave of the cord.
And if you know how to do it right, those nice little macrame slide knots will actually slide and hold - or at least mine have for the last couple of weeks.
So, I'm going to take a step back and go through how I made the bracelets too. Because in addition to being a post about my love of Chinese knotting cord, this is also about re-discovering tools and giving them a second shot. In this case, I'm talking about the Beadalon Tying Station. When I first tried it, we got off to a rough start and I was disappointed.
It still has quirks that make it difficult to use, but after trying other ways, the tool and I have come to a place of mutual understanding. It is a little to tight of a space for my fingers to knot as quickly as I would like, I wish it had clamps instead of twist nuts, but fundamentally, it does the job, it's very portable and rests easy in my lap. So, I've been using it more and more.
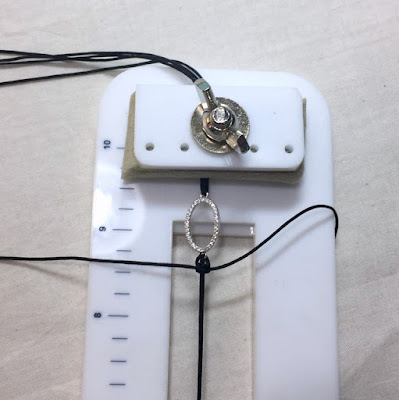
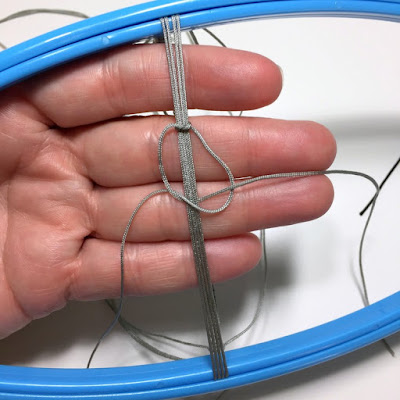
Here's one of the bracelets I made as Christmas presents in progress. The tying station works great for tying the bracelet part. I can measure the length using the ruler on the side (even though it is going the wrong way - hopefully that has been corrected).
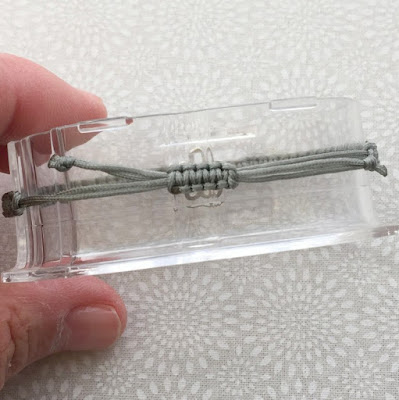
The tool falls down when I try to make the sliding knot. You can slide the ends together and actually make it work, but there was a lot of stuff going on. Of course, I could make it easier on myself by tying off some of the other cords before I got to this point, but I don't.
Speaking of tying off ends - Chinese knotting cord is the best for that!! At first, I was following instructions to sew in the cord ends to make everything neat with no little burnt nub ends. What a waste of time!! It took forever and wasn't tight enough. (BTW, I love the tutorial at the link, even if I thought the finishing method didn't work for me).
So after a few bracelets like that, I finally decided to try burning the ends. I was burning the end and flattening it to get through my needle anyway.
Insert Angels singing here - So easy to do it this way! You still need to be careful, and I push the ends down with a flat nose plier to try and make it hard for them to come loose but it is so much easier!! The best part, it isn't really noticeable.
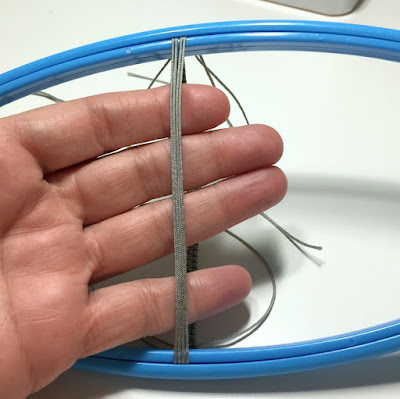
About the knot tying, I have found my preference for making it is to use a small embroidery hoop instead of the beadalon tying station. The hardest part is getting the two cords from one side aligned with the two from the other side. The benefit though is that cords are further away from where I am knotting. (the bracelet is basically around the embroidery hoop).
I make these knots tight! Yes, it's more difficult to put on at first, but they always loosen a little.
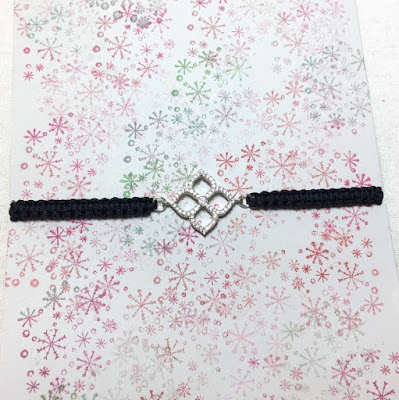
Here's a few of the bracelets that I made. Some glitzy ones for holiday gifts for my friends.
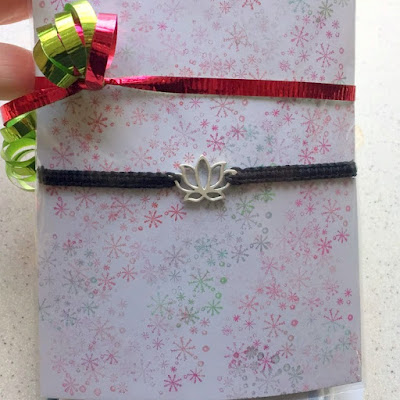
I trimmed the post off of some earrings to make a couple of these lotus bracelets.
My daughter and her friends like these.
And this flower charm bracelet, which I was wearing, but left in my locker at the gym this week. Ugh! I hate it when that happens! At least I have another charm and can make myself a new one. Until then, I am wearing the one with copper hearts.
Have a great day!
To find out about my latest posts, please subscribe one of these ways:
By email: You can sign up by providing your email and you will be notified of new blog posts plus special offers. Make sure you confirm your subscription request by clicking the link in the email.
By following me on Pinterest: Lisa Yang Jewelry on Pinterest
By subscribing on YouTube: Lisa Yang Jewelry on YouTube
And Instagram: @lisayangjewelry







No comments:
Post a Comment